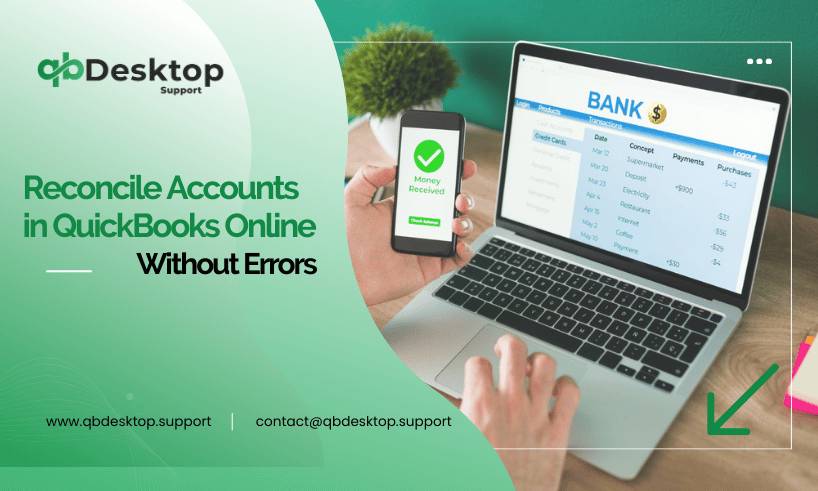
Learn how to Reconcile Accounts in QuickBooks online So They Match Your Bank and Credit Card Statements!
Keeping your financial records accurate is important—and that means making sure your QuickBooks accounts match what your bank or credit card statement says. This process is called reconciliation, and it’s a smart habit to do every month.
It’s kind of like balancing a checkbook: you look at each transaction in your QuickBooks account and compare it to the ones listed on your statement. When everything matches, you’re good to go.
Start Your Taxes with Confidence
Need help filing your business taxes? You can get unlimited expert advice and maximize your savings. Sign in and get started today.
Tip: For a better experience, open this article in QuickBooks Online with side-by-side view.
Get Real Help, Anytime
If you ever need personalized support, QuickBooks Live connects you with real experts.
Also, don’t forget to check out our how-to videos for step-by-step guidance.
Before You Begin First Time Reconciling
If this is your first time reconciling, take a look at your opening balance. It should match the real balance from your bank or credit card on the day you started using QuickBooks.
Good to Know: You don’t need to link your bank or credit card to QuickBooks Online to reconcile. But if you do, QuickBooks will pull your transactions and set the starting balance for you.
Before you begin reconciling, make sure all downloaded transactions are matched and categorized correctly.
How to Reconcile an Account in QuickBooks?
If you’re behind on reconciliations, start with the oldest statement and work forward:
- Go to Transactions, then select Reconcile.
- If it’s your first time, click Get Started.
- Choose the account you want to reconcile from the dropdown list—make sure it’s the same as the one on your bank or credit card statement.
- If you see a message about a past issue, click We can help you fix it and follow the steps.
- Check that the Beginning Balance in QuickBooks matches your statement. If not, fix any errors before continuing.
- Enter the Ending Balance and Ending Date from your statement. (Sometimes it’s called “new” or “closing” balance.)
- If your account isn’t connected to online banking, you can manually add service charges or interest earned.
- Look at the Last Statement Ending Date—your new statement should begin the next day.
- When everything’s ready, click Start reconciling.
Now it’s time to go line by line:
- If a transaction in QuickBooks matches one on your statement, check it off.
- If something small doesn’t match (like a name), click Edit in QuickBooks to fix the details.
- If a transaction is in QuickBooks but not on your statement, leave it unchecked.
When you’re finished, the difference between QuickBooks and your statement should be $0.00. If so, click Finish now.
If your bank account is connected to QuickBooks Online, most of your transactions may already match up automatically.
Important:- How to Reconcile an Account in QuickBooks Desktop?
What to Do If Things Don’t Match
If there’s a difference, here’s how to find the problem:
- Check that the transaction dates match exactly.
- If a transaction is missing, click + New and add it manually.
- If there are extra transactions in QuickBooks, sort by Cleared Date to find entries added by mistake.
- Use the Audit Log to check if any entries were changed or deleted.
Make sure both the number of transactions and their amounts match exactly.
After You Reconcile in QuickBooks Online
QuickBooks Online creates a reconciliation report after each session. To review it:
- Go to Transactions, then click Reconcile.
- Click History by account.
- Find the report you want and click View report.
- You can filter by date or account.
- To print it, click Print report from the dropdown.
Note: These reports can’t be exported, but you can print and share them if needed.
Frequently Asked Questions
QuickBooks Online doesn’t allow you to undo an entire reconciliation in one click like the desktop version. However, you can manually undo the reconciliation for each transaction:
Go to the Chart of Accounts.
Find and click View register for the account you reconciled.
Locate the transaction you want to unreconcile.
Click the “R” (Reconciled) status until it shows blank (unreconciled).
Save the changes.
To correct a reconciliation:
Review the reconciliation report to identify discrepancies.
If necessary, undo individual transactions as explained above.
Make sure all bank transactions are properly categorized and matched.
Once corrections are made, re-reconcile the account.
A reconciliation discrepancy usually occurs due to:
Deleted or modified reconciled transactions.
Duplicate entries.
Missing bank transactions.
Incorrect beginning or ending balances.
Use the Reconciliation Discrepancy Report to help identify the issue.
To reconcile an account in QuickBooks Online:
Go to Settings > Reconcile.
Choose the bank or credit card account.
Enter the statement ending date and ending balance.
Match the transactions in QuickBooks with your bank statement.
If the difference is $0.00, click Finish now.
To unreconcile a single transaction:
Go to the account register via the Chart of Accounts.
Click on the transaction.
In the “checkmark” column, change the “R” to a blank space.
Save the transaction.
This action removes the transaction from reconciliation.
There’s no automatic “reverse reconciliation” feature in QBO like in the desktop version. But you can:
Manually change the status of transactions in the register.
Contact your accountant, as they may have access to an Accountant Tool that allows full reconciliation undo.
If a reconciled transaction was deleted:
Re-enter the transaction with the same details.
Mark it as reconciled in the account register.
Review the reconciliation to ensure the balance is correct.